When I first started investigating EMF issues in homes a number of years ago, dirty electricity wasn’t even on my radar. But was I in for a surprise! After countless home inspections and consultations with electricians, I’ve learned that testing for dirty electricity isn’t always straightforward. Let me share everything I’ve discovered about properly testing for this invisible menace.
What is Dirty Electricity?
I remember scratching my head when I first heard this term. Simply put, dirty electricity refers to irregular fluctuations and spikes in electrical power flowing through your wiring. Think of it like static on a radio – it’s electrical noise that disrupts the clean 60 Hz sine wave we want in our homes.
These disruptions typically range from 2 kHz to 100 kHz. What makes it particularly tricky is that our modern homes are practically breeding grounds for this type of electrical pollution.
The Health Impact Factor
Before we dive into testing, let me share something crucial I’ve learned: the health implications can be significant. In my years of testing homes, I’ve encountered numerous people who reported headaches, fatigue, and sleep problems before addressing their dirty electricity issues.
While everyone’s sensitivity differs, it’s worth taking seriously. For a deeper understanding of these impacts, check out my comprehensive guide on everything you need to know about dirty electricity.
Identifying Sources of Dirty Electricity
Here’s something that shocked me during my early days of testing – almost every modern electronic device creates some form of dirty electricity. I’ll never forget testing a friend’s home and discovering their new LED dimmer switches were the biggest culprit!
Common sources include:
- LED and fluorescent lights (especially with dimmers)
- Solar panel inverters
- Smart meters
- Variable speed motors in appliances
- Switch-mode power supplies in electronics
- Cell phone chargers and laptop adapters
- Energy-efficient appliances (ironically!)
The trickiest part? Sometimes the biggest offenders are devices we consider essential for daily living. I once found a high-end refrigerator creating massive amounts of dirty electricity due to its variable-speed compressor.
Testing for Internal vs External Sources
Having studied EMF protection and dirty electricity extensively, I’ve learned that pinpointing the source of dirty electricity – whether internal or external – is crucial for effective mitigation. Here’s a systematic testing approach that consistently yields reliable results:
- Start by taking comprehensive baseline readings throughout your house during peak usage hours. All your regular devices should be running – computers, TVs, appliances, everything that’s normally on. Evening readings often reveal the most accurate picture of your typical exposure levels.
- Then perform an “electrical isolation test.” Switch off and unplug every device in your home. Take another complete set of readings. This step often reveals surprising patterns that aren’t apparent during normal operation.
- If the meter shows elevated readings even with everything off, you’re likely dealing with external sources. This could be from nearby power lines, a neighbor’s solar installation, or other sources beyond your property. In these cases, consider installing a whole-house filtering system at your electrical panel to create a protective barrier.
- When readings are primarily high during normal operation but drop significantly during the isolation test, your sources are internal. Conduct a methodical outlet-by-outlet investigation to identify specific problem areas.
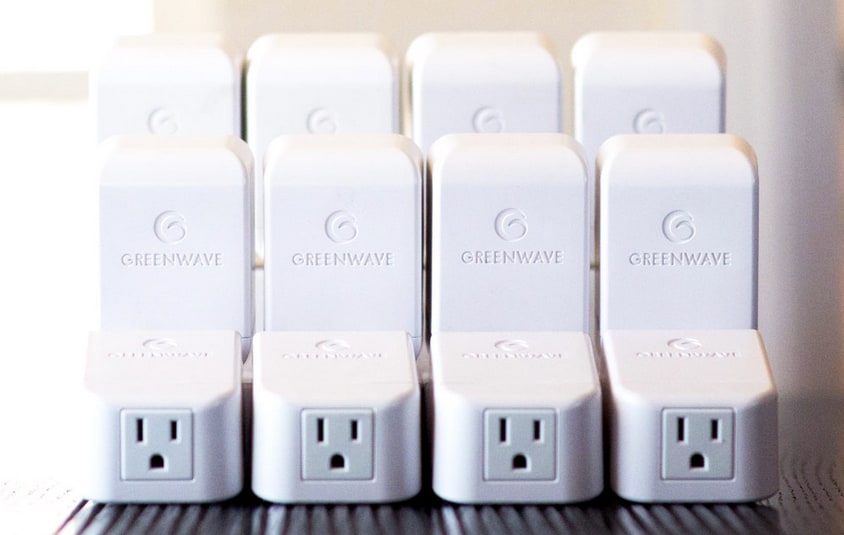
- Once you’ve identified the high-reading locations, strategic filter placement becomes essential. Quality filters in key locations often prove more effective than scattered placement throughout the house. Consider both plug-in filters for localized issues and whole-house systems for comprehensive protection.
Understanding How to Test for Dirty Electricity
Drawing from extensive study in EMF protection, I’ve found that testing for dirty electricity isn’t quite as straightforward as using a single meter. Let me share the testing approaches I’ve found most effective, along with some insights you won’t find in typical guides.
Basic Testing Equipment
When it comes to measuring dirty electricity, you’ve got several options depending on your needs and expertise level:
Professional-Grade Equipment
The gold standard is an oscilloscope – think of it as the MRI machine of electrical testing. While incredibly thorough, it’s overkill for most homeowners. Unless you’re planning to become an EMF consultant or hiring a professional, I’d suggest starting with simpler tools.
Consumer-Level Tools
Here’s what I typically recommend for homeowners:
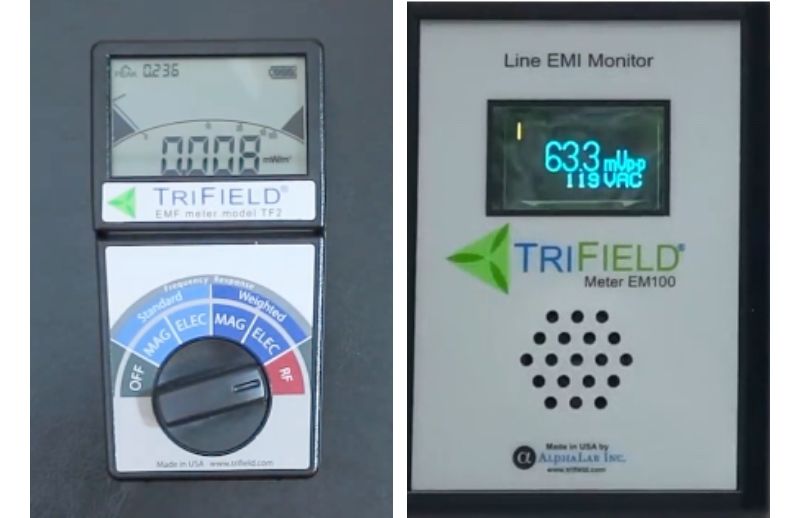
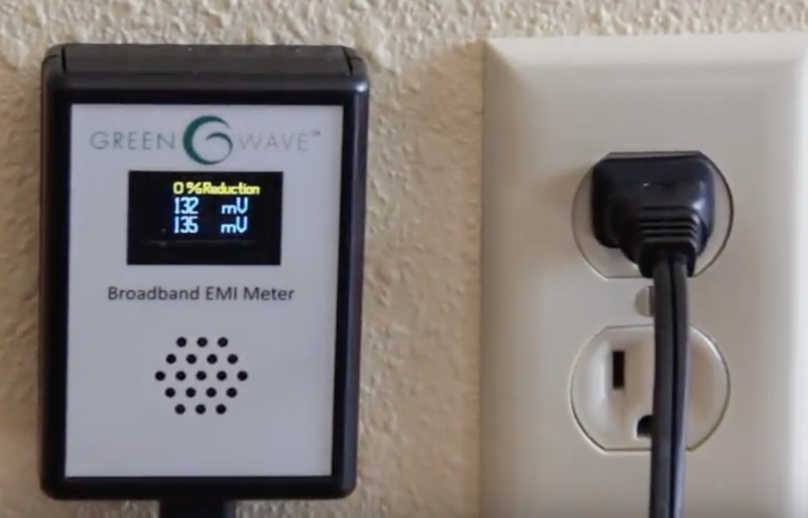
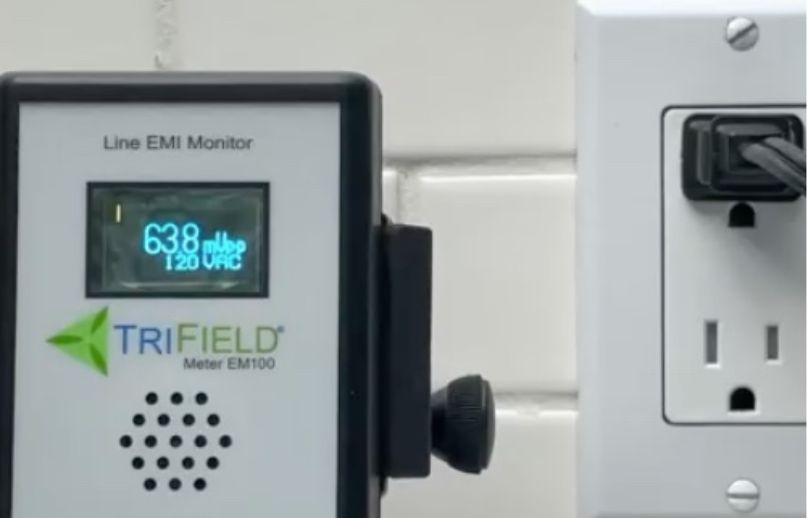
- EMI Meter: These plug straight into your outlets and give you clear readings. Look for one that covers frequencies from 5 kHz to 1 MHz – this range catches most common dirty electricity issues.
- AM Radio Method: This might sound old school, but it’s surprisingly effective. I’ve found that a basic AM radio can act like a detection tool, picking up interference that indicates dirty electricity. The key is using one without built-in noise suppression.
My Two-Step Testing Approach
Through trial and error, I’ve developed a testing method that combines both scientific measurement and practical detection:
Step 1: Outlet Testing
Start with your EMI meter:
- Test early morning when usage is low
- Map your readings by outlet
- Note any readings above 50 units (most meters use GS or mV units)
- Pay special attention to outlets near major appliances
Step 2: Field Detection
This is where many people stop, but detecting radiated fields is crucial:
- Use your AM radio tuned to a quiet spot on the low end
- Walk your space methodically, noting where interference increases
- Pay attention to areas up to 8 feet from wiring
- Mark hotspots on your home’s layout
Using a Dirty Electricity Meter Correctly
Here’s where many folks get tripped up. When I first started, I made the rookie mistake of taking single readings and moving on. Proper meter use involves:
- Taking multiple readings at each location
- Waiting for the reading to stabilize (usually 5-10 seconds)
- Testing at different times of day
- Recording the highest and lowest readings
The readings will typically be in Graham-Stetzer units (GSU) or mV (millivolts), depending on your meter brand.
Interpreting Test Results
Through years of testing, I’ve developed a pretty good sense of what numbers mean. But it’s important to remember there is no safe level of radiation. But generally:
- Below 50 GSU: Excellent
- 50-150 GSU: Moderate concern
- 150-500 GSU: High concern
- Above 500 GSU: Severe problem needing immediate attention
But here’s the thing – these numbers aren’t one-size-fits-all. I’ve seen homes with relatively low readings where residents still experienced symptoms.
Solutions and Mitigation Strategies
After identifying problems, it’s time for solutions. I always start with the simplest fixes:
- Remove or replace problematic devices
- Install quality dirty electricity filters (check out my guide to the best filters)
- Create dedicated circuits for high-polluting devices
- Consider whole-house filtering systems for severe cases
- Upgrade older wiring if necessary
- Use proper grounding techniques
Consulting with Professionals
Sometimes DIY testing isn’t enough. I learned this lesson when dealing with a particularly puzzling case involving a solar installation. Know when to call in the experts:
- When readings consistently exceed 500 GSU
- If you’re experiencing health symptoms despite mitigation efforts
- When dealing with complex electrical systems
- If you’re planning major electrical renovations
- When multiple mitigation attempts have failed
- If you’re dealing with a newly constructed home
Long-Term Monitoring Strategies
Here’s something most people miss – dirty electricity levels change over time. I recommend:
- Quarterly basic testing of main living areas
- Annual comprehensive testing of all outlets
- Keeping a log of readings and any changes in electrical systems
- Testing immediately after installing new electronic devices
- Regular check-ups of any installed filters
- Monitoring seasonal variations
Through my years of testing, I’ve discovered that maintaining clean electricity isn’t a one-and-done deal. It requires ongoing attention and occasional adjustments. But don’t let that overwhelm you! Start with basic testing and build your expertise over time.
Remember, while this guide covers the essentials, dirty electricity is a complex topic. The most important thing I’ve learned? Don’t ignore this invisible issue. Just because you can’t see dirty electricity doesn’t mean it isn’t affecting your home and health. Start testing today, and you’ll be amazed at what you discover about your electrical environment.


